Unlock the Full Potential of Your Smart Plug: A Comprehensive Smartphone Setup Guide
Understanding the Basics of Smart Plugs
Before we dive into the setup process, it’s essential to understand what smart plugs are and how they can transform your home into a smart, efficient, and convenient living space. Smart plugs are devices that you can insert into your standard power outlets to turn any appliance into a smart device. This means you can control, monitor, and automate these appliances using your smartphone, voice assistants, or other smart home devices.
Choosing the Right Smart Plug for Your Needs
With numerous smart plug brands available, selecting the right one can be overwhelming. Here are some key factors to consider:
Additional reading : Harnessing the Power of Real-Time Cryptocurrency Trading: Essential Smartphone Strategies for Maximum Gains
Compatibility
Ensure the smart plug is compatible with your preferred voice assistant, such as Amazon Alexa, Google Assistant, or Apple HomeKit. For example, the Aqara Smart Plug supports all three major platforms, making it a versatile choice[3].
Network Requirements
Check if the smart plug requires a specific type of network connection. Some plugs, like the Aqara Smart Plug, need a secured 2.4 GHz Wi-Fi network and may also require a hub, such as the Aqara Zigbee 3.0 HUB[3].
This might interest you : Comprehensive How-To for Seamlessly Setting Up a Smart Video Doorbell via Your Smartphone
Power Handling
Consider the power rating of the smart plug. For instance, the Aqara Smart Plug can handle up to 15A and 1875W, making it suitable for high-power appliances like window air conditioners and space heaters[3].
Additional Features
Look for features like energy monitoring, overheat protection, and the ability to set schedules and scenes. These features can significantly enhance your smart home experience.
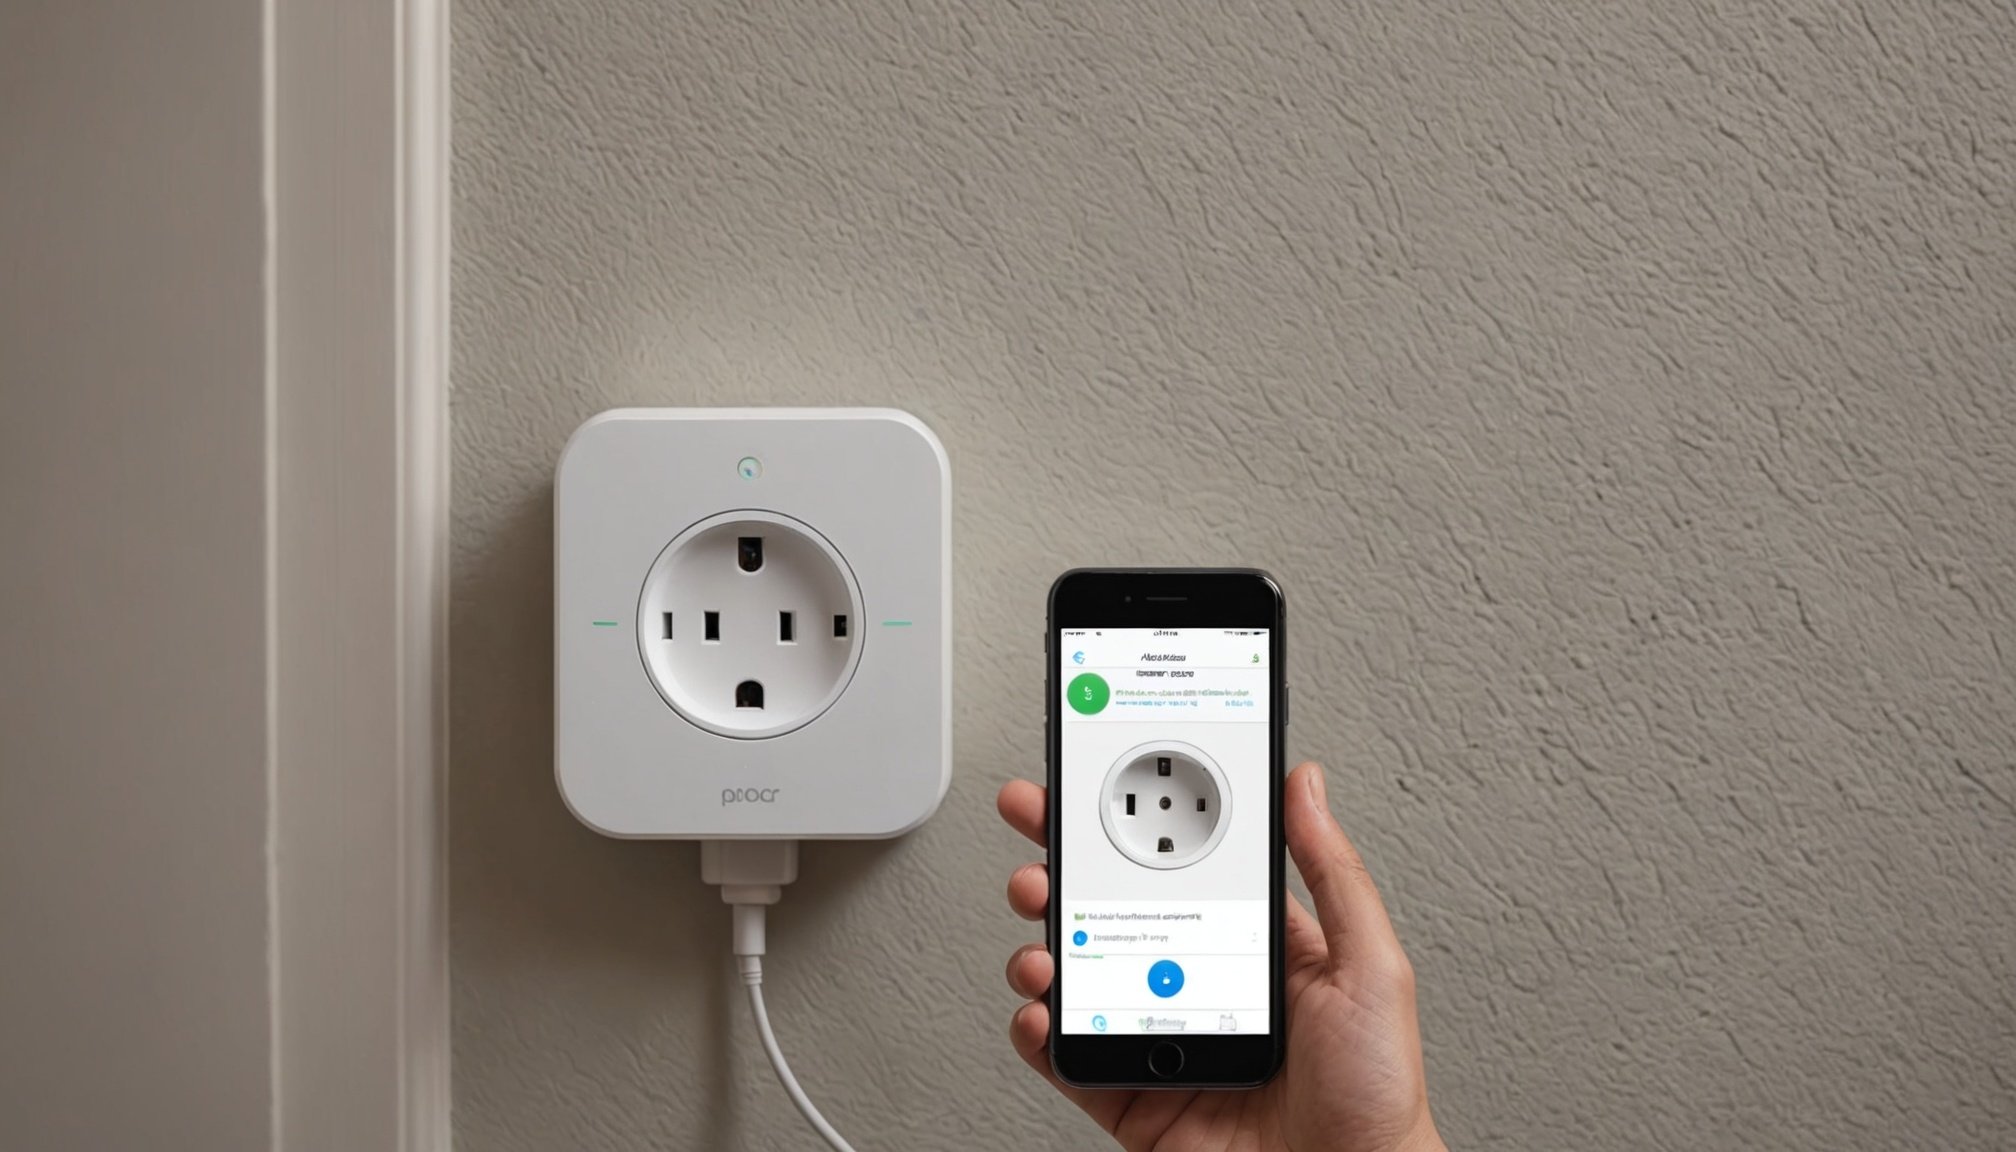
Setting Up Your Smart Plug
Setting up a smart plug is generally straightforward, but here’s a step-by-step guide to help you through the process.
Step 1: Physical Installation
Plug the smart plug into your wall outlet. Ensure it is properly powered by checking for any indicator lights. For example, the Aqara Smart Plug will blink blue if it is powered correctly[3].
Step 2: Connecting to Your Wi-Fi Network
Open the app associated with your smart plug (e.g., the Aqara Home app) and follow the instructions to connect the device to your Wi-Fi network.
- For Shelly Plug S Gen3: Navigate to
Settings > Wi-Fiin the web interface, select or input your preferred Wi-Fi network, and enter the password. You can also set a static IP address if needed[1]. - For Aqara Smart Plug: Follow the quick start guide to add the Aqara Smart Hub to the app, then select the “Smart Plug” option and follow the on-screen instructions[3].
Step 3: Integrating with Voice Assistants
To enhance your smart home experience, integrate your smart plug with voice assistants.
- Amazon Alexa: Use the Kasa app or other compatible apps to add the smart plug to Alexa. You may need to enable a specific skill, like the Kasa skill for TP-Link devices[2].
- Google Assistant: Add the smart plug through the Google Home app. Many smart plugs, such as those from Meross, automatically detect and prompt you to add them once you’ve completed the initial setup[2].
- Apple HomeKit: For devices like the Aqara Smart Plug, you may need to scan a QR code or use a temporary Wi-Fi method to connect the plug to HomeKit[2].
Configuring Your Smart Plug
Once your smart plug is set up, you can configure various settings to tailor it to your needs.
Input/Output Settings
- Select Input Mode: Choose how you want to control the output. For example, the Shelly Plug S Gen3 offers modes like Button, Switch, and Analog. The Button mode toggles the state of the device output with each press, while the Switch mode corresponds to the switch’s position[1].
- Set Output Type: Options include Toggle Switch, Momentary Switch, Edge Switch, and Detached Switch. Each mode changes how the input affects the output[1].
LED Indication Mode
Customize the LED status light to indicate different states, such as power consumption, switch state, or completely off. You can also adjust the color and brightness of the LED light[1].
Network and Device Settings
- Access Point: Configure the device’s access point, including setting a password and enabling/disabling Bluetooth[1].
- Device Name and Location: Set your device’s name, and manually adjust the timezone and location if necessary[1].
Automating Your Home Devices
One of the most powerful features of smart plugs is their ability to automate your home devices.
Scheduling and Timers
Use the app to set schedules and timers for your appliances. For example, you can turn on your coffee machine in the morning and turn off your lights before going to sleep using the Aqara Home app[3].
Scenes and Routines
Create scenes and routines that involve multiple devices. For instance, you can set up a “Good Morning” scene that turns on your lights, coffee machine, and TV with a single command[3].
Energy Monitoring and Safety Features
Smart plugs often come with energy monitoring and safety features that can help you save energy and ensure your safety.
Energy Monitoring
- Power Consumption Data: Many smart plugs, like the Aqara Smart Plug, can record the power consumption of appliances on a daily or monthly basis, helping you monitor and save on your energy bills[3].
- Overheat and Overload Protection: Smart plugs can automatically turn off the power to appliances if they detect overheating or overloading, ensuring your safety[3].
Troubleshooting Common Issues
While setting up and using smart plugs is generally smooth, you might encounter some issues.
Connectivity Problems
- Wi-Fi Connection: Ensure your Wi-Fi network is stable and strong. If the smart plug disconnects, it may reconnect to an alternative network if you have set up multiple Wi-Fi connections[1][2].
- Bluetooth Issues: Check if Bluetooth is enabled on your device and if there are any interference issues.
App and Voice Assistant Integration
- App Compatibility: Make sure the app is updated and compatible with your smart plug. Sometimes, updating the app or restarting the device can resolve connectivity issues[2].
- Voice Assistant Commands: Ensure that your voice assistant is properly configured and that the smart plug is recognized within the voice assistant’s ecosystem.
Real-Life Examples and User Experiences
Here are some real-life examples and user experiences that highlight the benefits and ease of use of smart plugs:
Remote Control and Automation
“I absolutely love having my Brinks Home security system, which includes smart plugs. It is so easy to control from the app on my cell. I feel very safe now whether home or away,” says Thomas C., a satisfied user[4].
Energy Efficiency
“Using the Aqara Smart Plug, I can monitor the power consumption of my appliances and set schedules to turn them off when not in use. It’s been a game-changer for my energy bills,” notes a user who has integrated the Aqara Smart Plug into their smart home setup[3].
Voice Control
“I set up my TP-Link smart plug through the Kasa app and integrated it with Alexa. Now, I can turn my lights on and off with just a voice command. It’s incredibly convenient,” says a user who has streamlined their smart home experience with voice control[2].
Comparative Table: Popular Smart Plugs
Here is a comparative table highlighting some of the key features of popular smart plugs:
| Feature | Shelly Plug S Gen3 | Aqara Smart Plug | TP-Link Kasa Smart Plug | Meross Smart Plug |
|---|---|---|---|---|
| Wi-Fi Compatibility | Yes, supports up to 2 networks | Yes, 2.4 GHz | Yes, 2.4 GHz | Yes, 2.4 GHz |
| Voice Assistant Compatibility | Alexa, Google Assistant, Apple HomeKit | Alexa, Google Assistant, Apple HomeKit | Alexa, Google Assistant | Alexa, Google Assistant, Apple HomeKit |
| Energy Monitoring | Yes, with LED indication | Yes, daily/monthly data | Yes, through app | Yes, through app |
| Power Handling | Customizable | Up to 15A, 1875W | Up to 15A, 1800W | Up to 15A, 1800W |
| Additional Features | Overcurrent protection, static IP | Overheat protection, scenes, timers | Away mode, if/then automations | Away mode, if/then automations |
| Hub Requirement | No | Yes, Aqara Zigbee 3.0 HUB | No | No |
| Bluetooth | Yes, enabled by default | No | Yes, for onboarding | Yes, for onboarding |
Practical Insights and Actionable Advice
Here are some practical insights and actionable advice to help you get the most out of your smart plug:
Optimize Your Network
Ensure your Wi-Fi network is strong and stable. If you have a large home, consider using a Wi-Fi extender to ensure reliable connectivity throughout.
Use Energy Monitoring
Regularly check the energy consumption data provided by your smart plug to identify areas where you can save energy.
Set Up Scenes and Routines
Create scenes and routines that automate multiple devices with a single command. This can enhance your smart home experience and make your life easier.
Secure Your Devices
Always update your smart plug’s firmware and ensure that the associated app is updated. This will help protect your devices from potential security vulnerabilities.
Smart plugs are a simple yet powerful way to transform your home into a smart, efficient, and convenient living space. By following this comprehensive guide, you can unlock the full potential of your smart plug and enjoy the benefits of remote control, energy monitoring, and automation. Whether you’re using an Aqara Smart Plug, a Shelly Plug S Gen3, or any other brand, the key is to understand the setup process, configure the settings to your needs, and integrate it seamlessly into your smart home ecosystem.
With the right smart plug and a little setup, you can control your devices from anywhere, monitor your energy usage, and enjoy a more automated and secure home. So, go ahead and take the first step towards a smarter, more connected home.